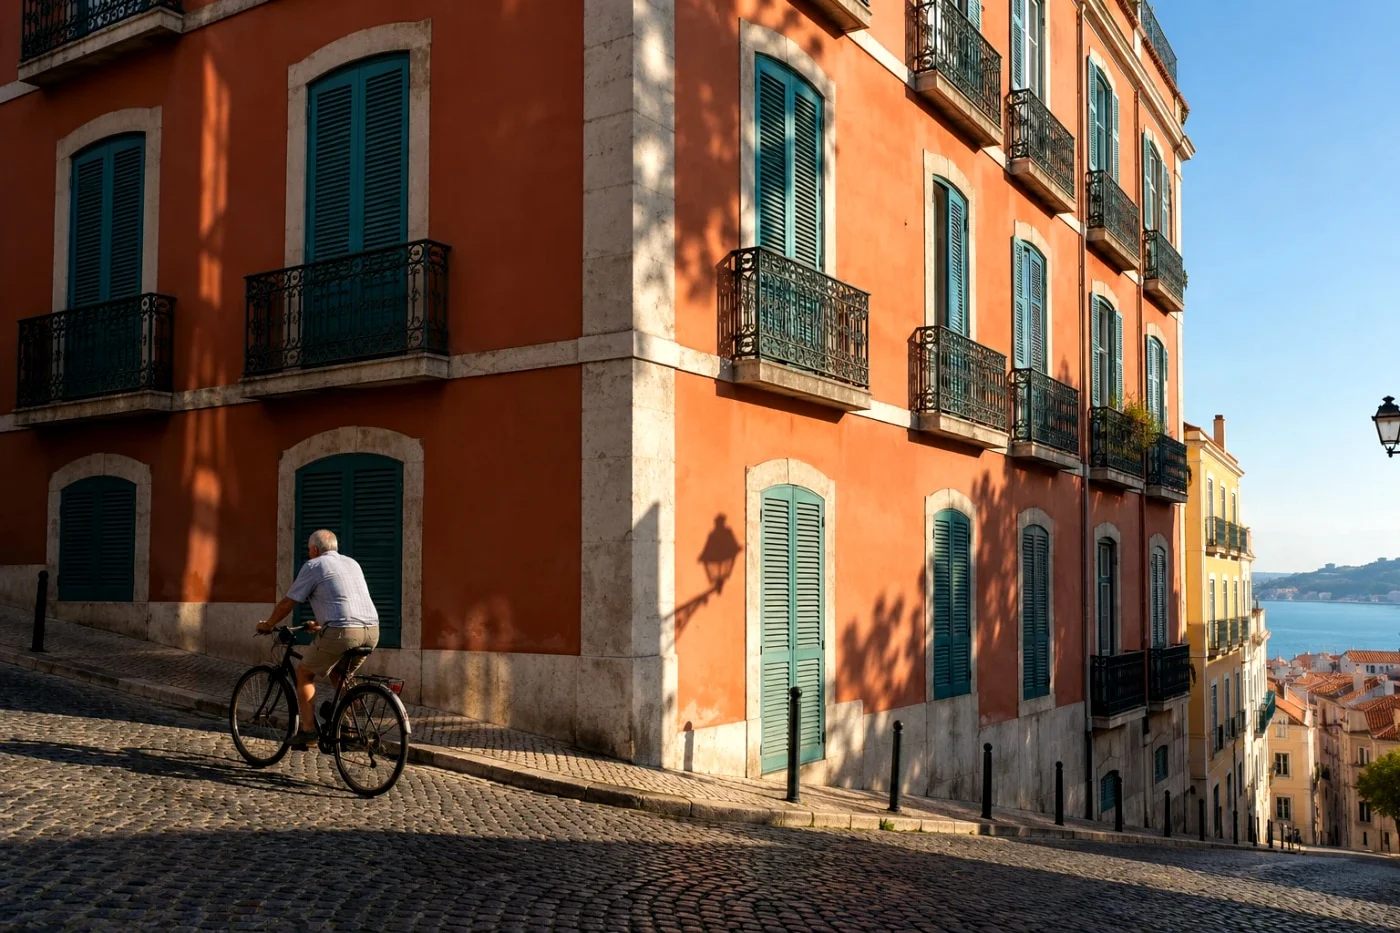
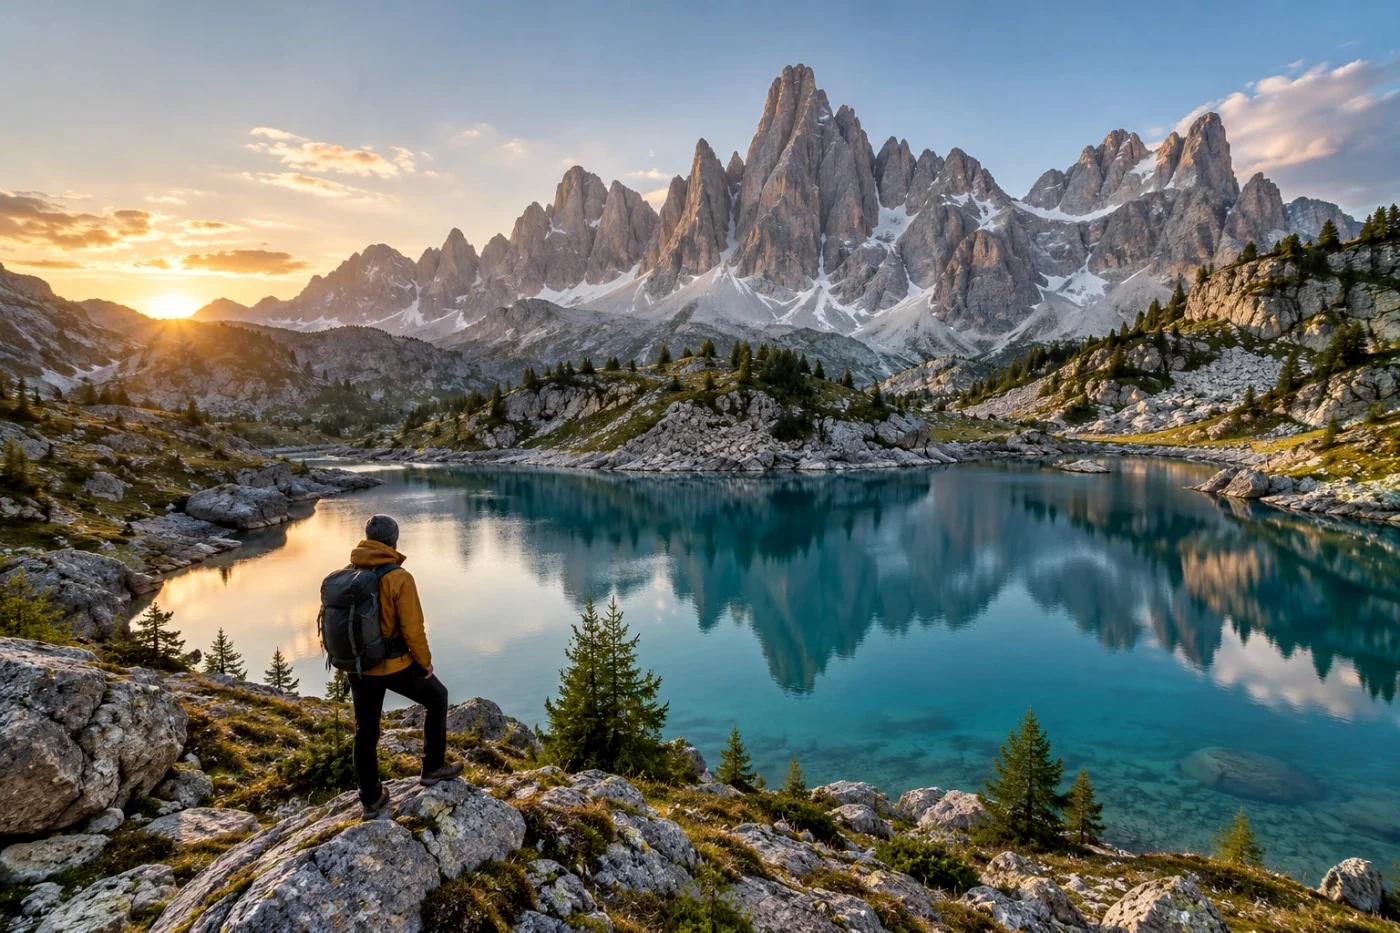
Start with a photo you already like, choose a film-inspired color palette, then compare skin, whites and shadows before saving. A small change can be enough. The aim is a photograph you enjoy, with the light and detail of your original still doing most of the work.
This guide uses one AI-created scene to show three actual Camera Refine results. It is a controlled comparison, not a phone-camera test or a scan of physical film. You can try the same looks on your own phone photos.
Start with a clean original
Choose a photo with a clear subject and useful detail in both bright and dark areas. Daylight is a straightforward starting point. A filter can change color and contrast, but it cannot recover a white sky that contains no detail or bring a missed-focus face back into focus.
Use the original file when possible. A screenshot, a social-media download or a photo that has already been heavily edited gives you less room to judge the new treatment. If your camera app has already made the scene very vivid, begin with a gentler finish.
Camera Refine accepts JPG, PNG and WebP, up to 20 MB and 40 megapixels per image. Convert HEIC or RAW to a supported still-image format first. This applies whether the photo came from an iPhone, an Android phone or a camera.
Compare three directions on one photo
The cyclist, bicycle and buildings below are identical in every version. Only the Camera Refine look changes. The original is already warm, which makes the cream jacket and sunlit skin useful reference points.
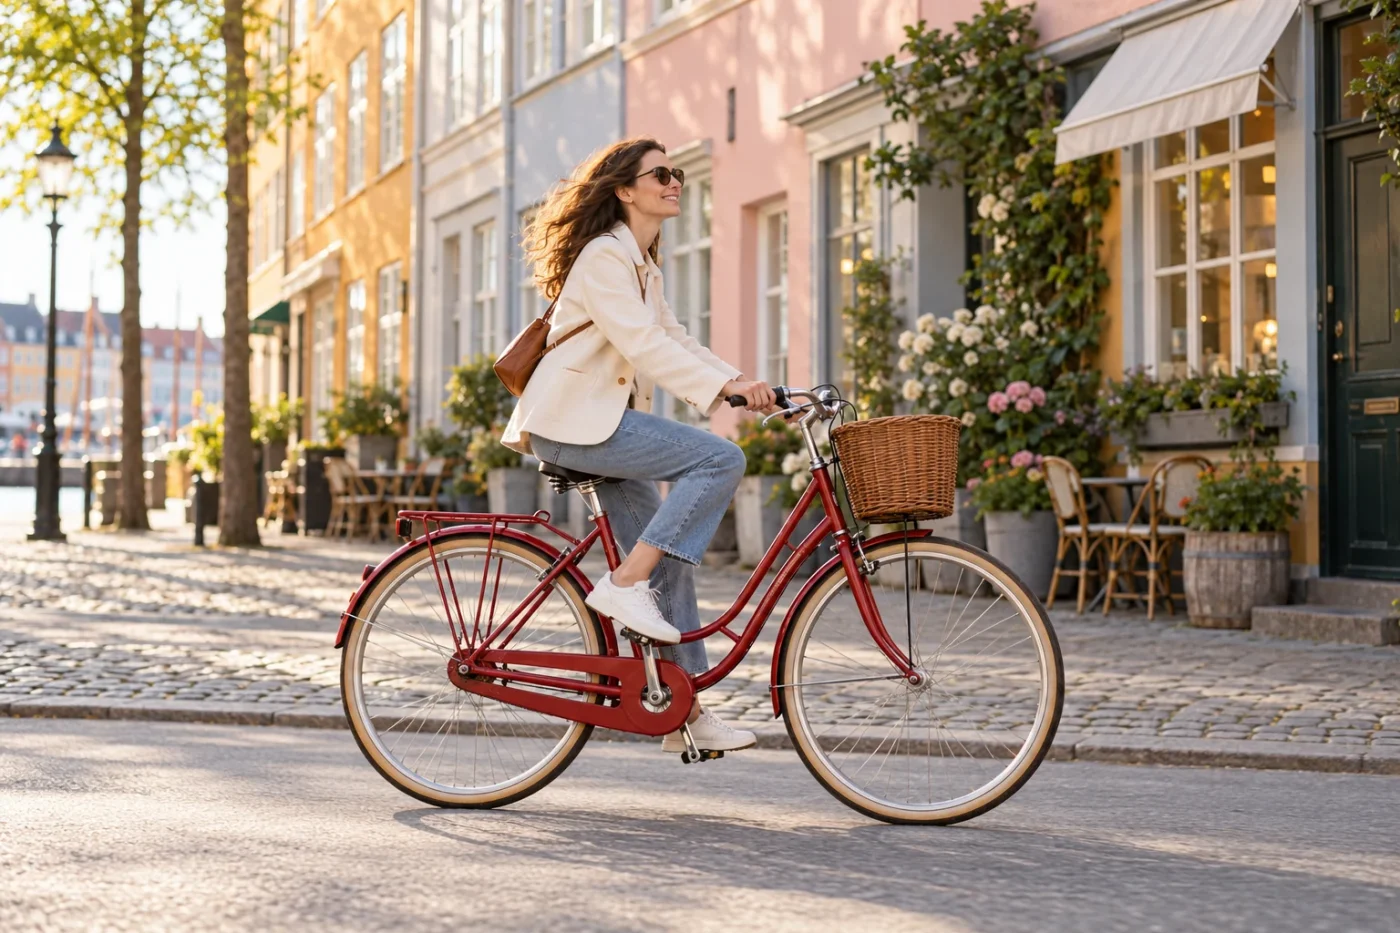
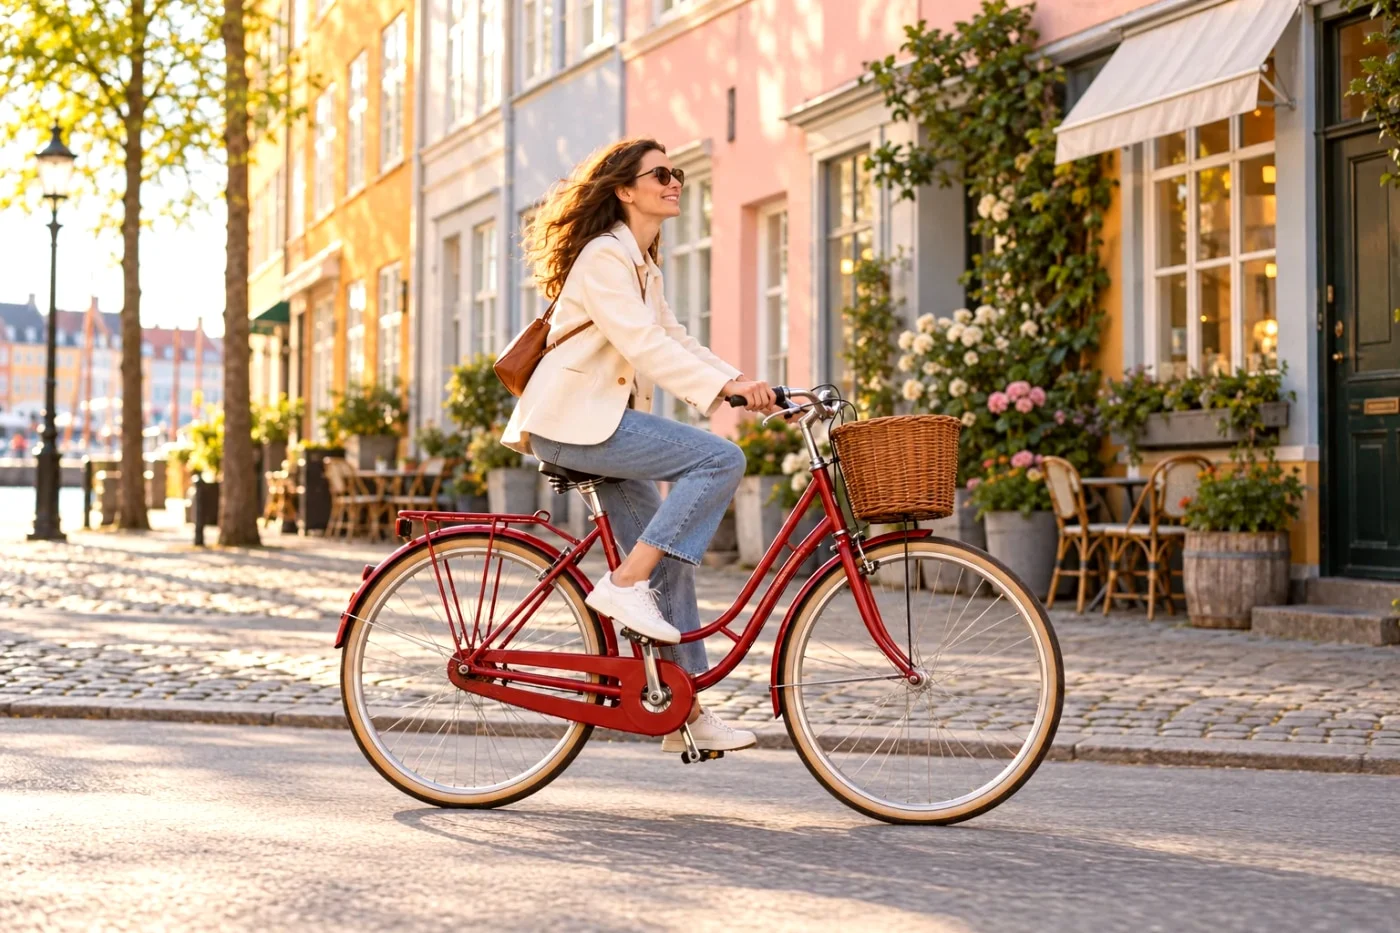
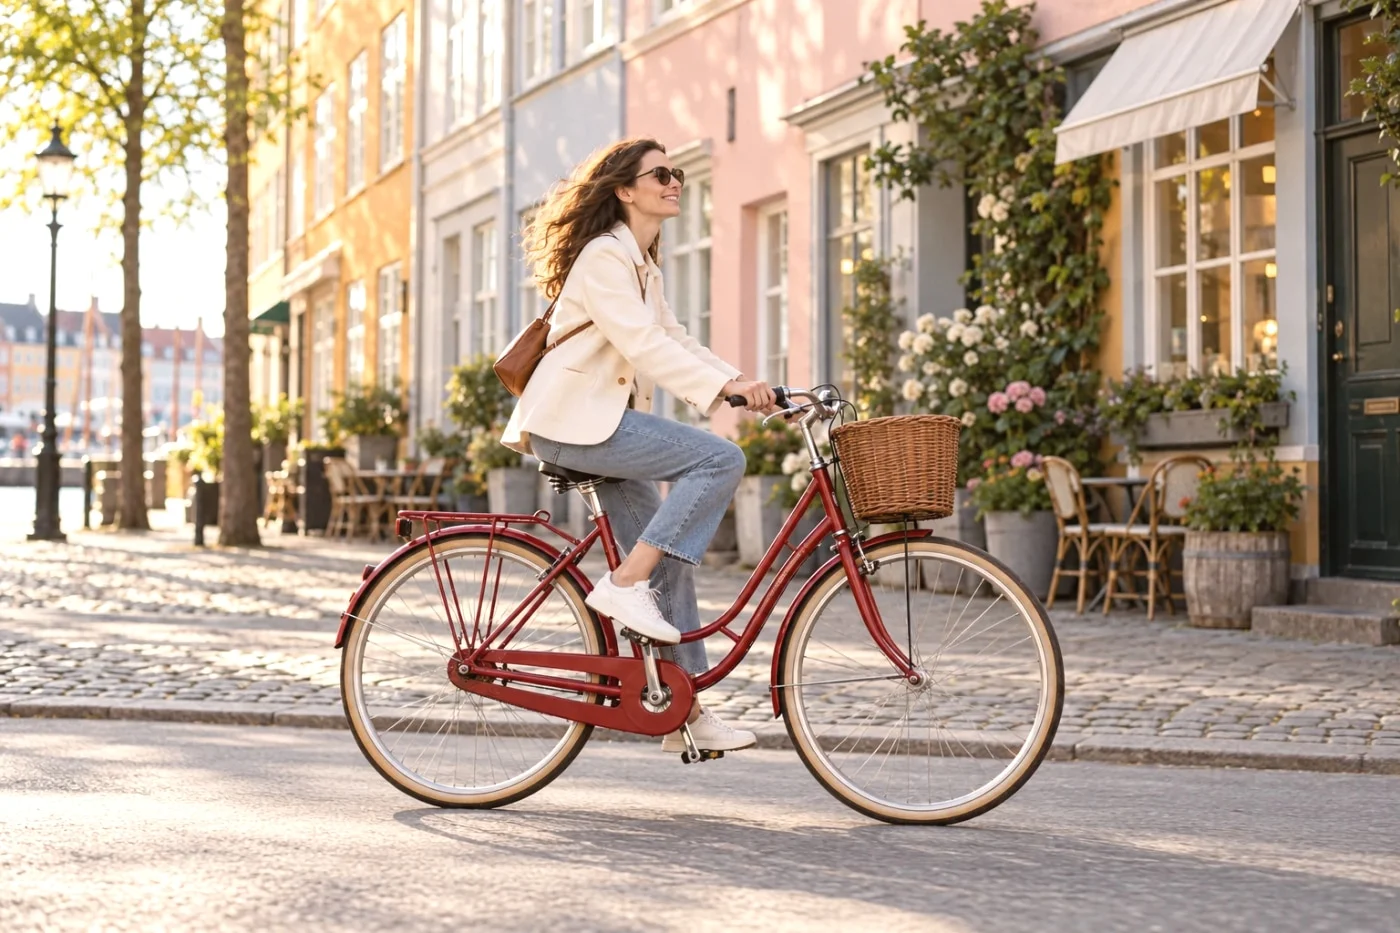
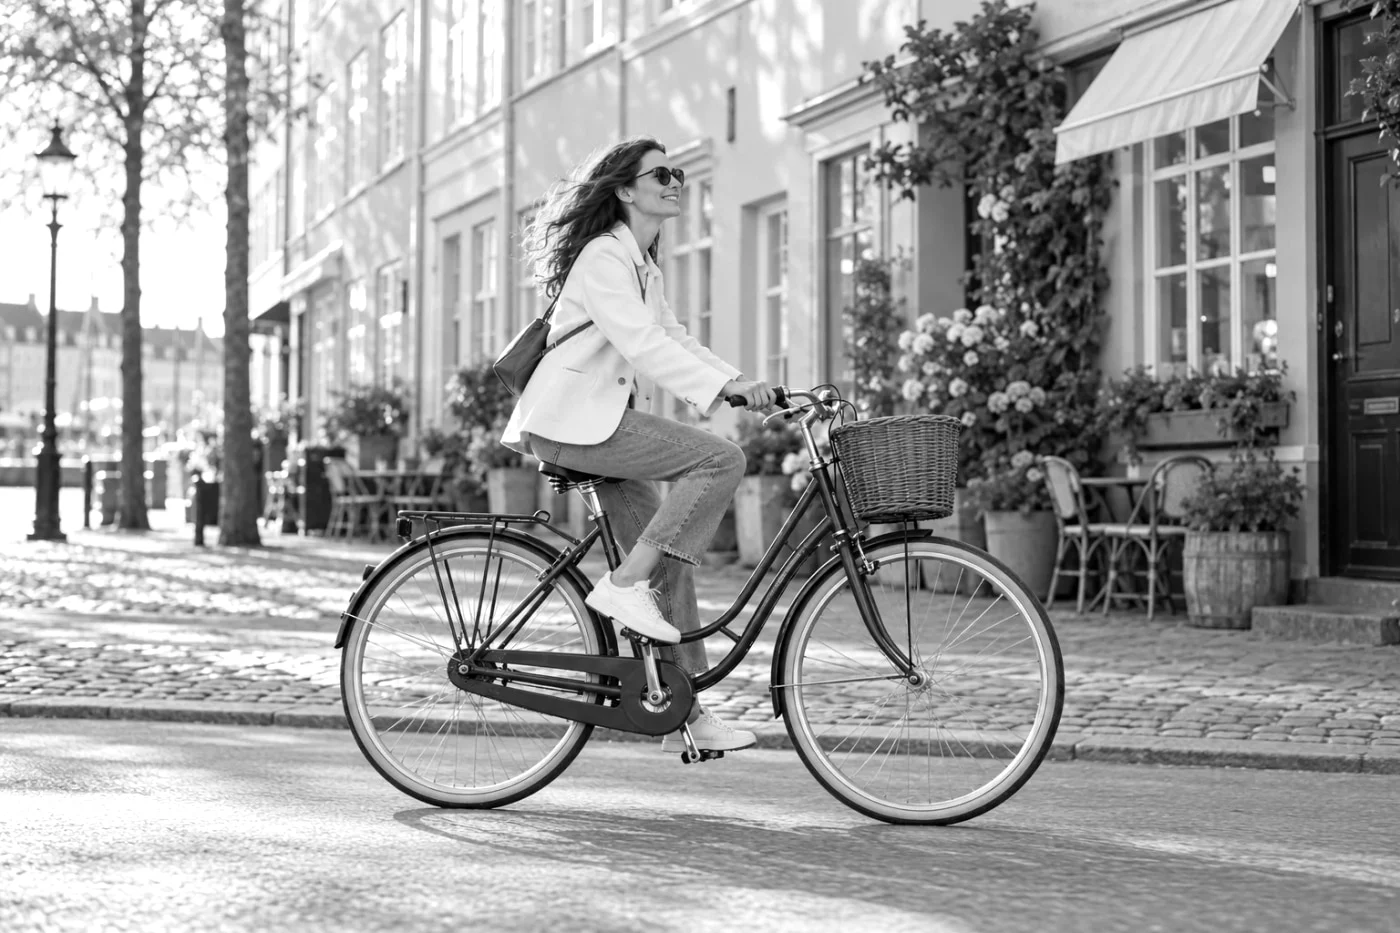
One AI-created source. Three actual Camera Refine outputs, with default finishing settings.
Gold-inspired color: start here if you want to explore a warm palette. Look at the jacket as well as the red bicycle. If the jacket becomes too yellow for your taste, reduce the look’s intensity or ease back the warmth. Kodak Gold 200 includes free Standard saves within the daily allowance.
Portra-inspired color: compare the balance between skin, the pastel wall and the bicycle. This is an alternative starting point, not an automatic portrait correction. Kodak Portra 400 can be previewed free; saving it requires Studio.
HP5-inspired monochrome: removing color shifts attention toward the person, wheels and patchwork of light. Check whether the jacket still separates from the wall. Ilford HP5 is also free to preview, with Studio required to save.
These names describe independent style references. The current web effects are not measured film profiles, and a film name does not guarantee grain, halation or the response of a particular scanner.
Apply a look in three steps
- Choose a look beside the examples, then upload your photo. If you already have an unexpired photo in this browser, the editor can use it immediately.
- Compare the result with Show original or Compare. Use Zoom 100% when you need to inspect detail. Every available look remains selectable.
- Choose Standard or Studio HD, then save. Studio badges identify which looks require paid access to save; they do not prevent previews.
For a personal finish, open Adjust. Intensity, brightness and warmth are available on these color looks. Start with one change, compare, and reset if it stops helping. Switching to another look resets the finishing controls, so each comparison starts from that preset.
Check the photo, not just the mood
Look at a face first if one is present. Then check something you expect to be neutral, such as a shirt or a wall, and a dark area with visible texture. It is easy to like a warmer overall image while missing an unwanted shift in skin or a loss of shadow detail.
If the result feels too strong, reduce intensity before changing several controls. If it still does not suit the original, try another family in Film filters. A brighter landscape, a dim room and a portrait do not have to use the same preset.
For an album, group photographs with similar light and use the batch workflow. Applying one filter helps establish a shared direction, but different starting light will still show through.
What can you save for free?
Photos are processed on our server and expire within 24 hours. They are not used for training or public examples. Save the finished file to your device before expiry; see formats, privacy and session limits for the full details.
Want a more camera-led direction? The Ricoh-inspired street guide compares daylight, shade and an after-dark scene.
See it on your own photo.
A starting point, not a fixed choice. Every other available look stays within reach.
Try the Gold-inspired look ↗